CTF - 2023 强网杯-S7 Write Up
前言
现在是刚培训下班,前几天一结束强网杯就飞江苏培训去了,emm这几天都在加班加点赶题赶课件(听说客户是国电的红队,说要求进阶培训,结果来到一看—–一言难尽),学员基础真的有点差,所以从0基础教真的好累,还没开始培训的时候客户要求要特别的难特别的进阶,结果来到现场了大家连Burp是啥都不清楚,代码也是0基础,基本上所有东西都要打头重新做过了,害 ,好累,抽空去把强网复盘一下吧,结果写到一半,又要上课了,现在下班回到酒店才慢慢的写一下这几天的事情吧
Misc
谍影重重2.0
先把流量的payload提取出来
1 | |
然后按照官方文档来进行调试
https://gitee.com/wangmin-gf/ads-b
1 | |
处理一下
1 | |
得到结果进行处理

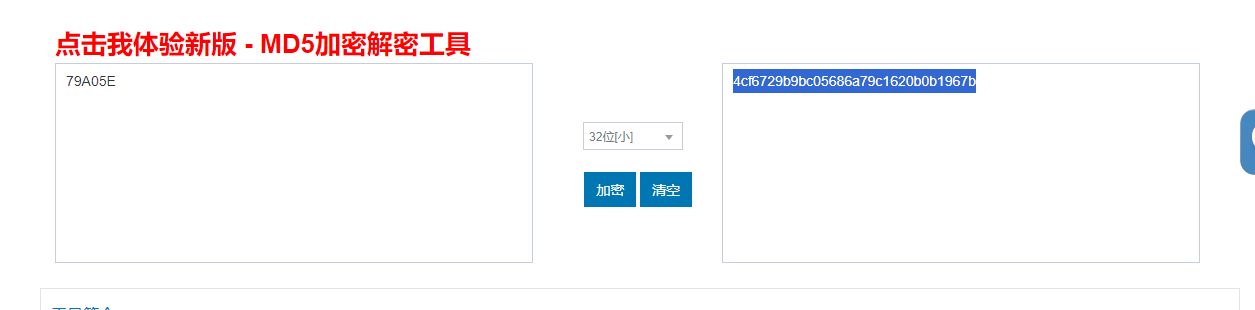
ICAO address: 79a05e 换成大写79A05E然后md5即可得到flag
Pyjail ! It’s myRevenge
源码
1 | |
发现了他import code,由于import的机制会优先导入当前目录的code.py
所以我们只要写入文件到code.py,连接是自动执行我们要执行的恶意程序即可
但是code被过滤了,所以用\x63绕过c即可
payload:
1 | |
最后连接时执行了cat fl*>2
所以我们读取文件2就可以得到flag

Wabby Wabbo Radio
Web访问,f12看到音频,提出来,这里有好多 多刷几次

随便看一个发现有摩斯

解完有两个提示一个QAM一个PNG
搜文章:https://www.jmwww.net/SQL/14678.html 尝试替换,这里根据png的提示,把01这些转成二进制对应图片的文件头,试了很久发现可以打,不知道是不是非预期。
丢进010分析文件,把前面无用的头全部删去,保留用于替换的字节,叫gpt搓个脚本即可:
1 | |
找到PNG了吗
用vol找了半天发现一头雾水,于是队友直接用软件梭哈出了一些文本,于是用010打开mem发现了里面明文存储的信息
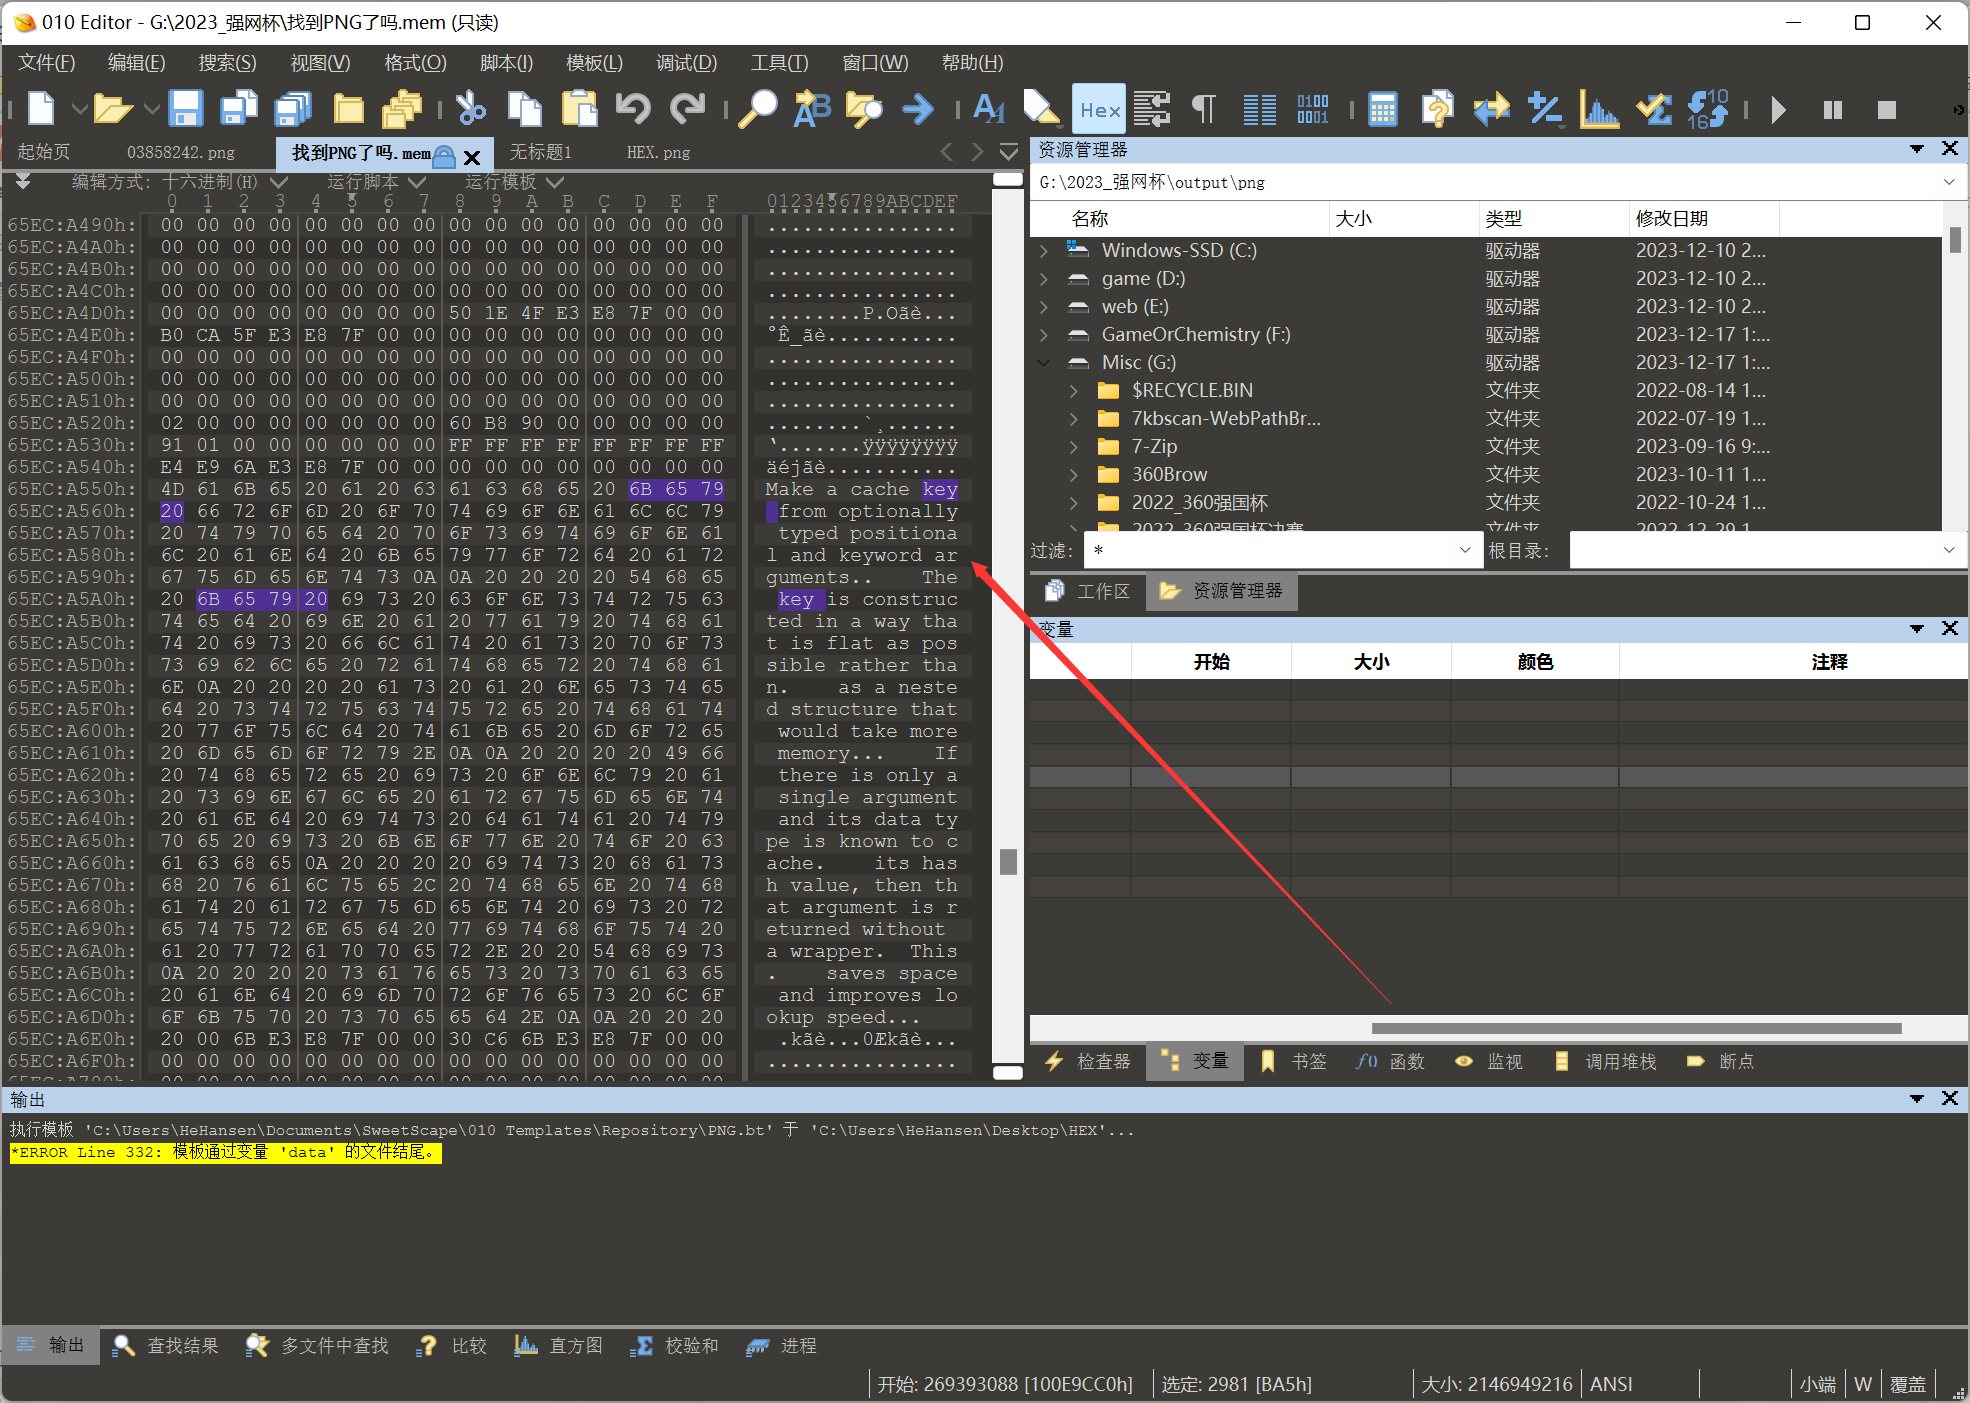 感觉key关键词有问题,于是根据那个key关键词直接搜
 直接搜出来一c代码
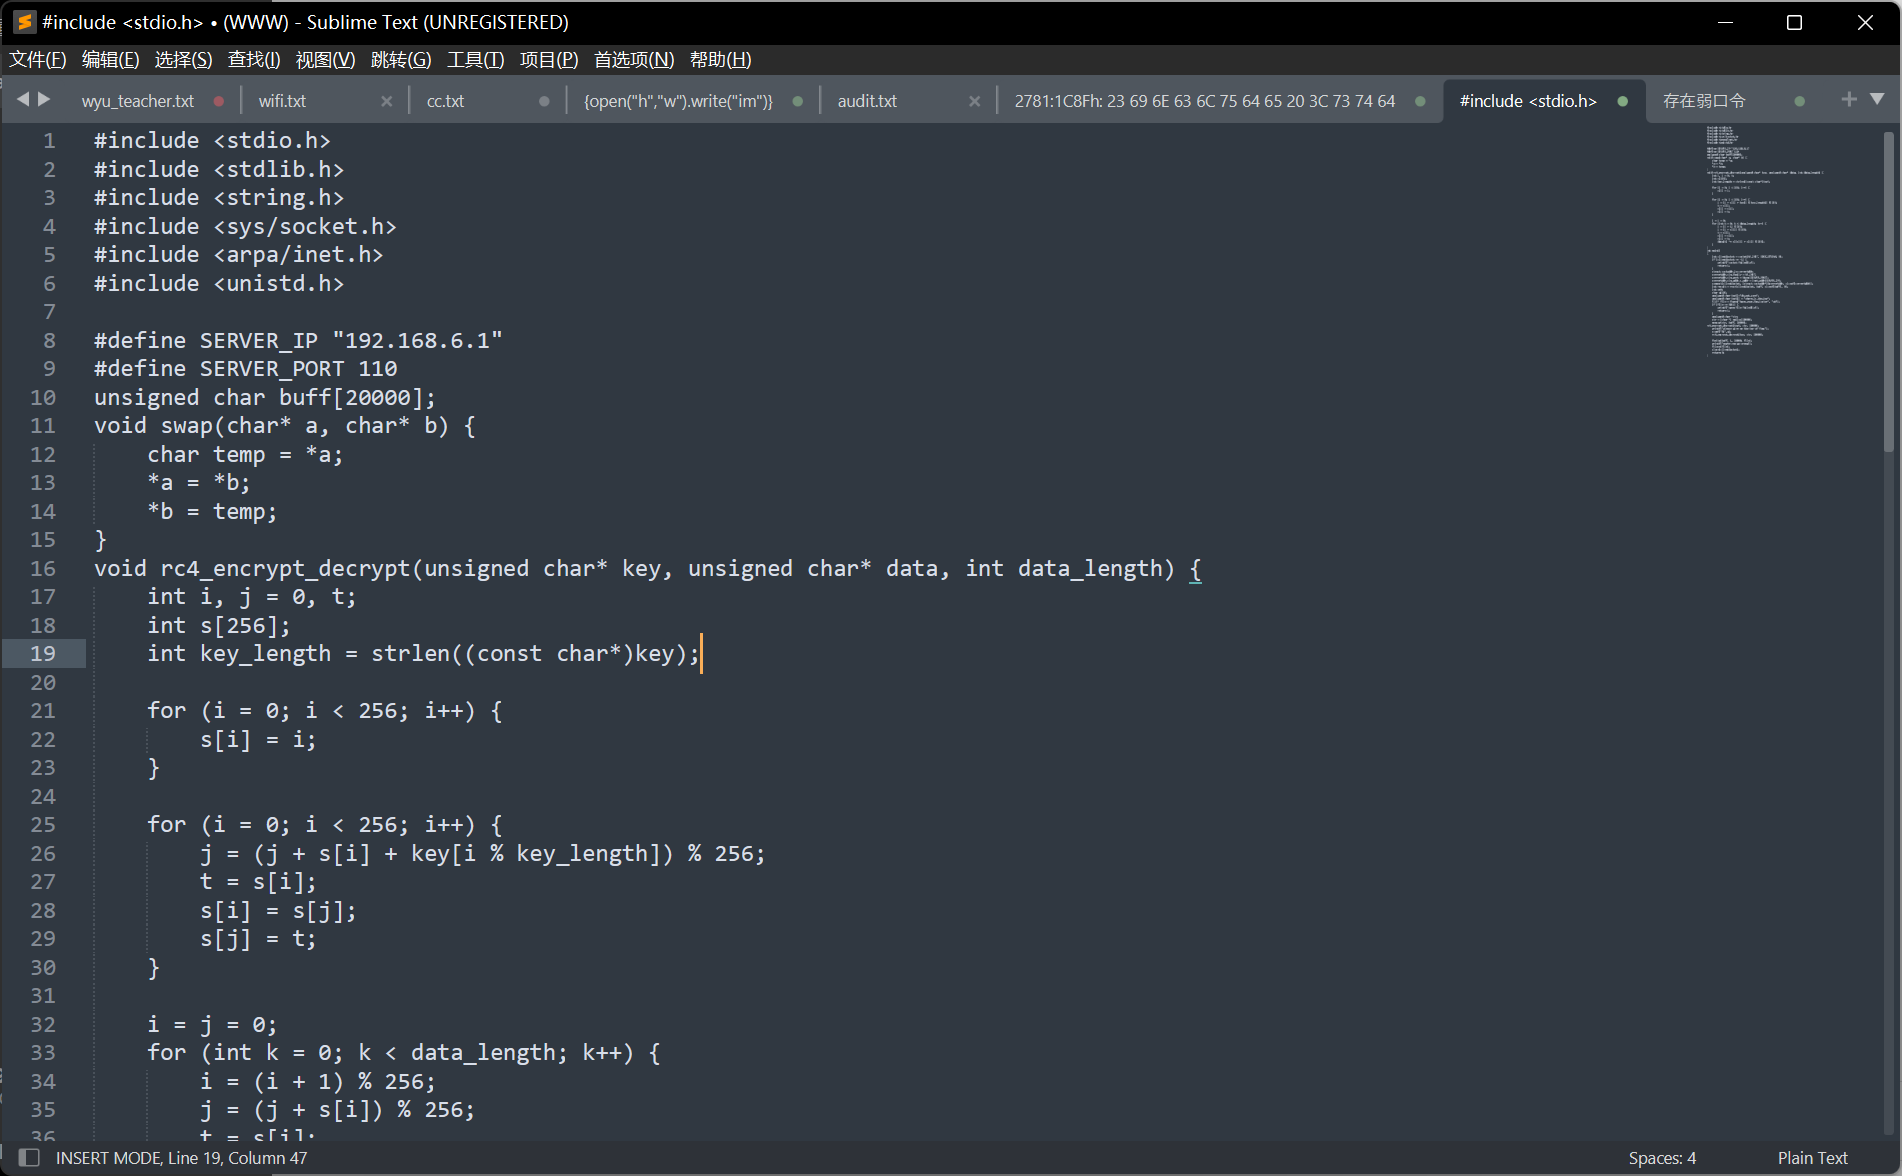 发现是rc4,key是do_not_care
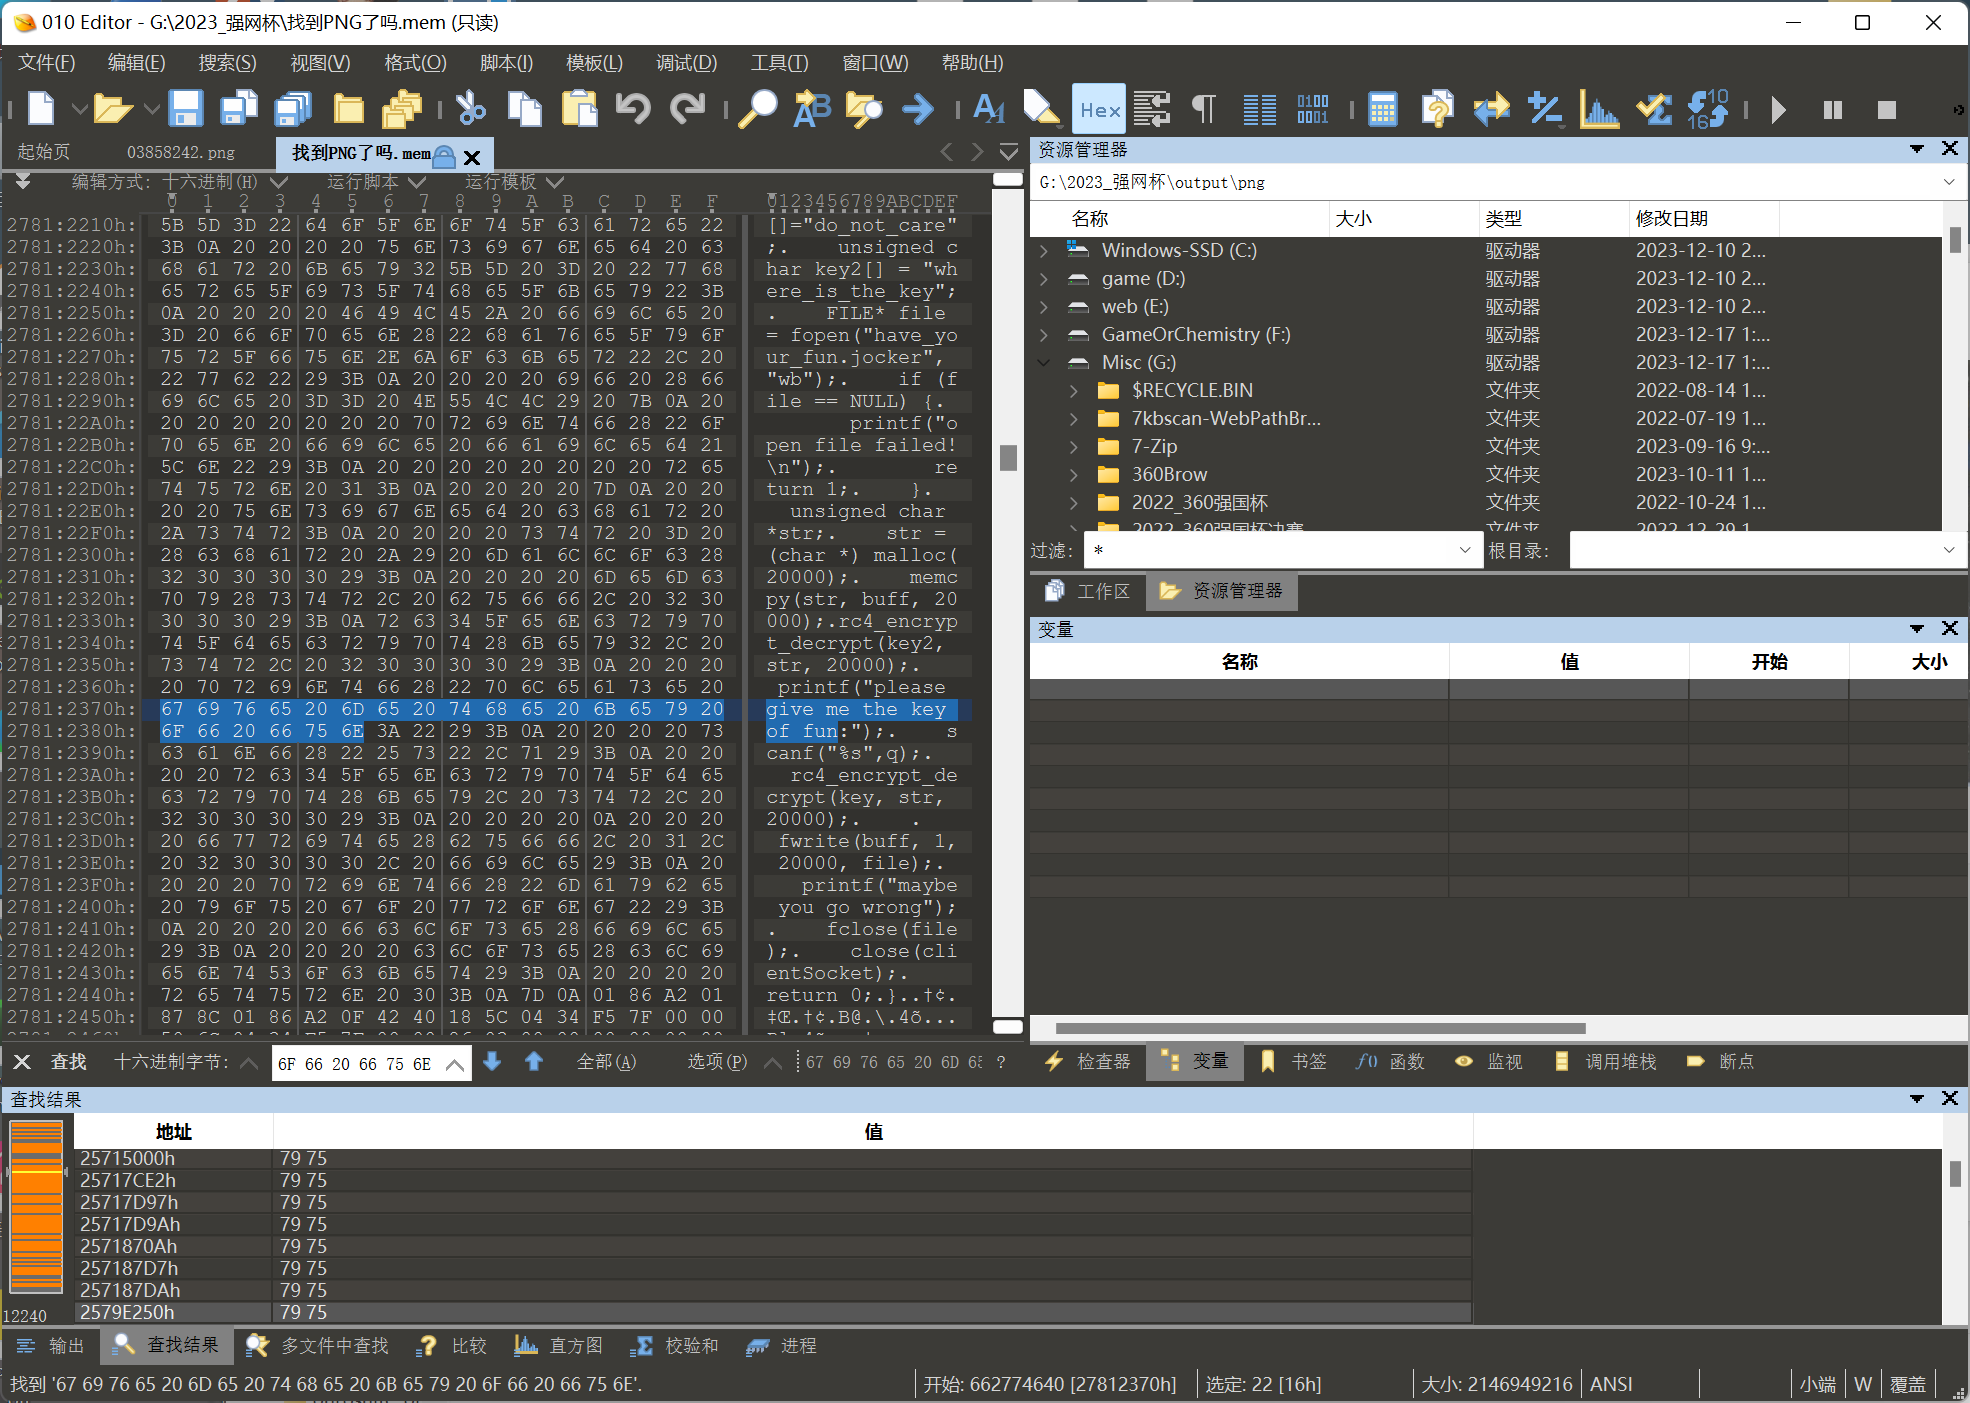
 丢给gpt简单看了看流程
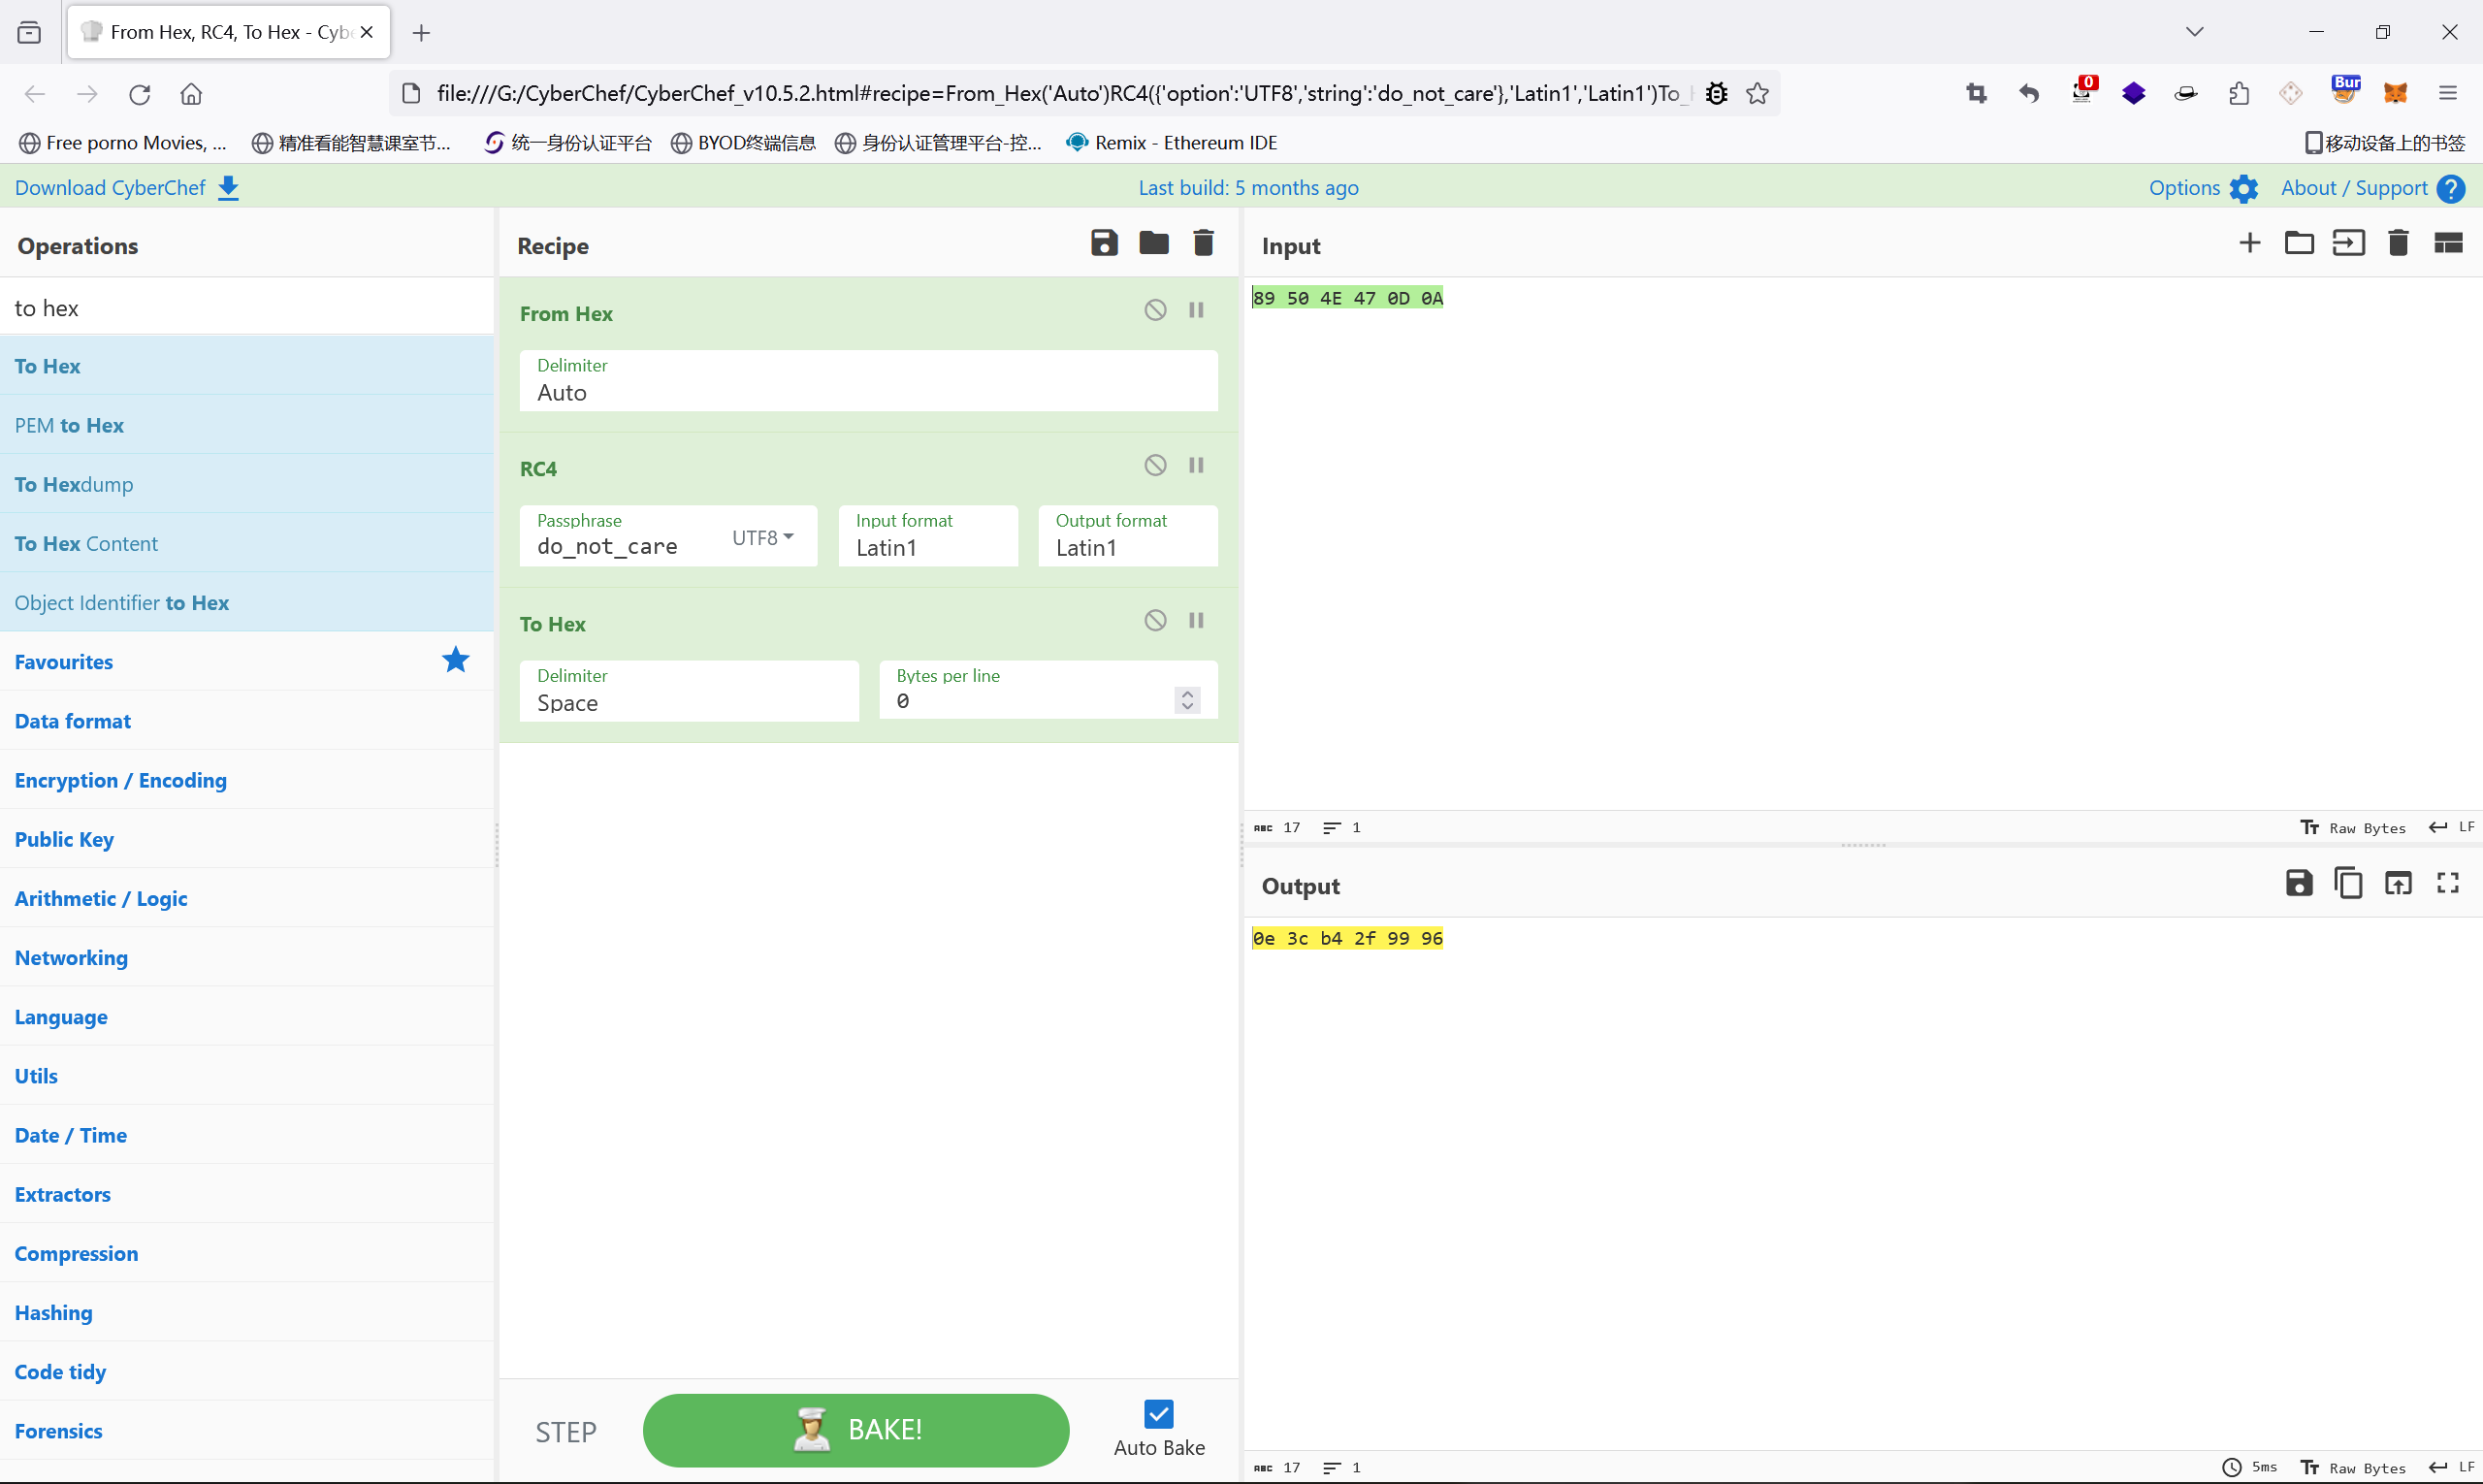
去010里面找了这串加密后的,也是成功找到
 复制下来直接同样流程解密
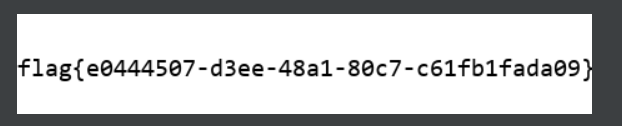
 另存为png得到flag

Web
happygame
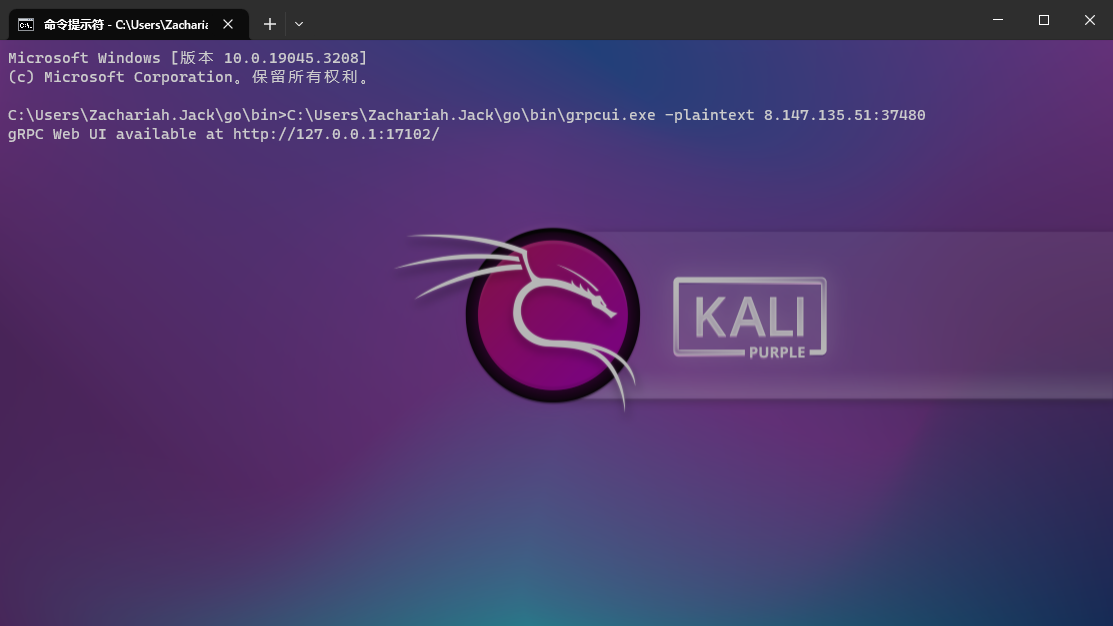
nc连上去没交互,grpc(清风神打过HTB直接想到)直接连
安装工具
1 | |
这个工具会被安装在~/go/bin目录下
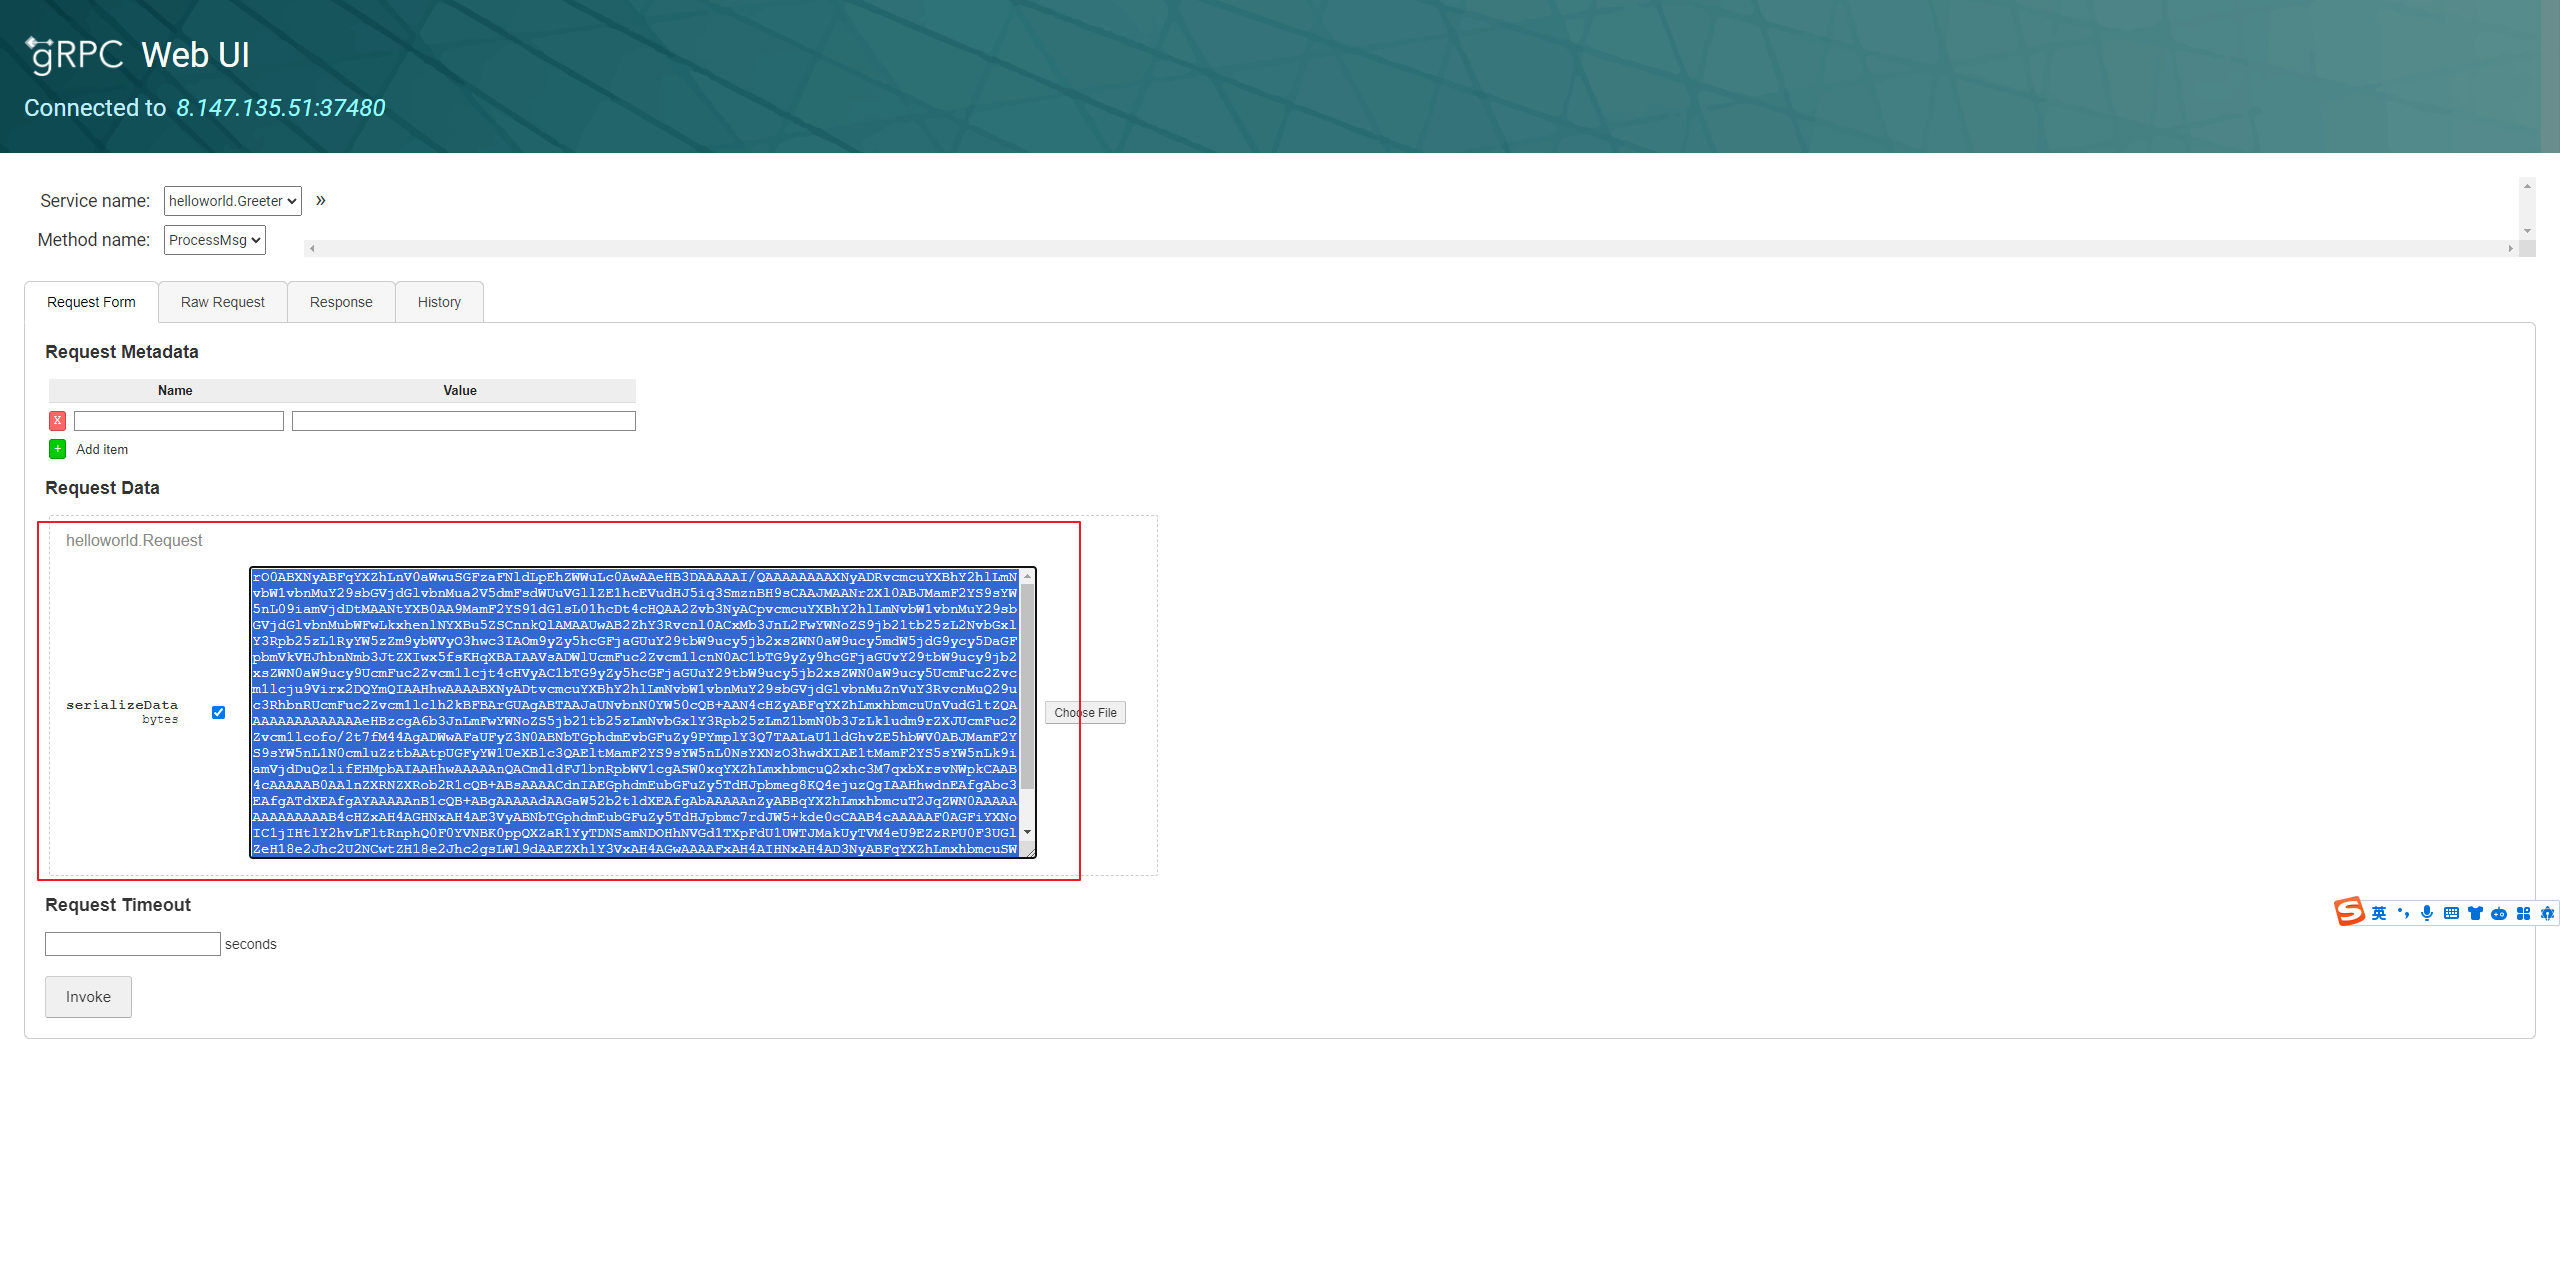 然后发现不需要认证可以打反序列化,直接打CC链子试试,把每个链子都打了一遍就反弹shell回来拿到flag了
注意下图中需要手动填写序列化字节
1 | |

然后发送即可

hello spring
参考 https://zhuanlan.zhihu.com/p/551576769

跟去年强网的好像差不多,但比去年稍微简单点的是直接给了上传路由,那其实可以想到上传模版去解析造成注入rce
用了原文的一个payload
1 | |
他的文件名也可以通过python代码或者他的返回包给的时间中进行推算

再访问/?x=file_20231219_034752加载模板即可,但实际上是不可以成功反弹的,因为他的filter当中是存在代码的,但是反编译出来的源码并没有写(真没必要吧出题人)
赛后看了一下一个师傅的公众号他写了一下过滤的内容为
1 | |
尝试使用字符串拼接吧关键字隔离开进行绕过
1 | |
然后在自己服务器上放个rce.xml即可
1 | |
小结
不知不觉写到12点了,今天其实还接到昆仑的电话了,让我直接一月份入职,开的薪资只能说是中规中矩吧,应该是够活下来,感觉自己难以去面对去实习的事实了,害,好难啊,挣钱真的好难,真的安全尽头真的是噶韭菜啊啊啊啊,不过感觉其实也是自己对安全还是有着热爱与兴趣的,希望能支持自己走的长久一点吧,强网其实自己做出来的题也不多,大部分有交流的情况下出的,还是稍微困难,还是得继续加油吧!洗洗睡了,明儿还得对着80个学生讲基础捏